Welcome Googlers from business, startups, education, non profits — or from wherever you might hail. Greetings to you too, students and future animators. This article is the first of a four (4) part series we’re calling “how to create an animation on a budget.”
Our goal is to teach you how to create a professional, high end animation — with a little help from talented freelancers. No tricks, no catches, no shortcuts — this is the real deal.
Why, you might ask, is Motifmotion giving away the trade secrets to creating an amazing animation? Wouldn’t they rather be hired to create my animation themselves? It’s a fair question. Before we explain our motives, here is a table of contents, so you know what’s in this guide.
Table of Contents:
 Reason # 1 – Altruism
While many marketers have the hours available to work on a project like this, they sometimes lack the budget needed to hire a professional studio. Over the years, we’ve had many organizations — especially non-profits , small businesses, and start-ups — reach out to us. Sadly, with little budget to speak of, we weren’t always able to help.
So we’re helping now!
- Read about why videos are so powerful for nonprofits here, in the context of a broader digital strategy.
- Read some excellent video marketing ideas for small businesses here.
- And why they are so powerful for startups here.
Reason # 2 – Frustration
Because when you Googled “how to create an animation” your search results were largely unhelpful up to this point. Why? Because you landed on a bunch of companies trying to sell you their cheap DIY animation software.
Listen, if you’re looking for a canned, unbranded marketing piece — those platforms are excellent! Otherwise, you might want to read on.
Reason # 3 – Utilitarianism
By creating something truly useful, Motifmotion will earn traffic to our website…which…we like. Some percentage of you will also realize reaching out to us is a good idea, and you will. Talk soon!
For those of you who A. really want a professional animation, B. lack a budget to work with the pros, and C. are willing to put in the time and effort— this blog series might just be your saving grace!
Creating an Animation 101
Okay – let’s dive in.
Although you will not need illustration and animation experience to pull a version of this off, you will need the following:
- Excellent writing skills (for the script)
- A dozen more hours (for planning and project management)
- A humble to moderate budget for hiring a freelancer or two (an illustrator/animator on the internet).
If you have those 3 things, you can do this!
In this series, we will unwrap the process of creating an animation from the ground up. Along the way, we’ll also share resources that will help you conceptualize your story, hire your illustrators and animators, manage the project, create a video marketing strategy, and ultimately, bring a truly professional piece to life.
The article you’re currently reading is an introductory primer. In it, we will the share 9 basic steps of the animation process. These are the very phases Motifmotion uses to create our own animations!
After this article, the next three pieces will be:
- “How to Write a Video Script”
- “How to Create a Storyboard”
- “Creating an Animation — from Concept to Delivery”
All three articles above will contain lots of detailed guidance, and we’ll link to each as soon as they are posted. Sign up for our newsletter if you want to be notified when they come through!
Creating an Animation, Pro Tip #1
There’s No Magic Pill (Sorry).
Before you continue, a word to the wise. A truly effective animation takes lots of time and skill to create. Depending on the complexity and length of the piece, it might require up to 200 hours of labor, across multiple team members. In other words, there’s no magic pill here. You’ll either need to hire a professional studio for production, or you’ll hire and manage a few skilled freelancers at a more affordable rate (and supervise their work under a project manager role).
Roughly, the animation process can be broken into two phases. “Pre production” and “Production.” Let’s discuss the distinct steps within each.
Phase 1 of The Animation Process
Pre Production
Animation “pre production” is, believe it or not, at least as important as animation “production” (a.k.a style design, illustration and animation). Why? Because truly powerful animations aren’t just visually engaging, they also tell a fantastic story.
Think about it. What’s the difference between the Disney movies you’ll never forget versus the one’s that totally flopped in the box office? After all, the illustration and animation were world-renowned both groups — so what separates them?
It’s the story.
More specifically…
…it’s how successfully the film takes you along on a journey, and tugs at your heart strings.
…it’s how the story builds suspense through emotions like anticipation, fear, and reward.
…it’s how connected you become to the story’s characters, or to the mission.
Don’t get us wrong, the quality of the production is also tremendously important. Without great visual production, you’ll be stuck with an amateur looking product. But the point is, you’ll never even have a chance unless you succeed in the pre production first!
So without further ado, here are the steps you’ll take along your journey.
Step 1: Research and Message Discovery
In the research and discovery phase, a studio like Motifmotion holds meetings with clients. The goal of these “message discovery” discussions is to understand the intent behind your message. But since you’re flying solo, you’ve got to do this yourself!
Here are some key questions you should ask yourself:
-
-
- Who is my target audience?
- What is my goal for the piece?
- Am I trying to break down something complicated into smaller parts?
- Am I trying to forge engagement and interest around something?
- How will I market it, or on what platform(s) will I share it?
- How long should is be?
-
Once your goals are established, you can start thinking about the tone of your animation, and importantly, structuring an outline. Yep – that’s bolded for a reason. Do yourself a big favor and don’t skip this step. You’ll thank us later!
Step 2: Writing a Video Script
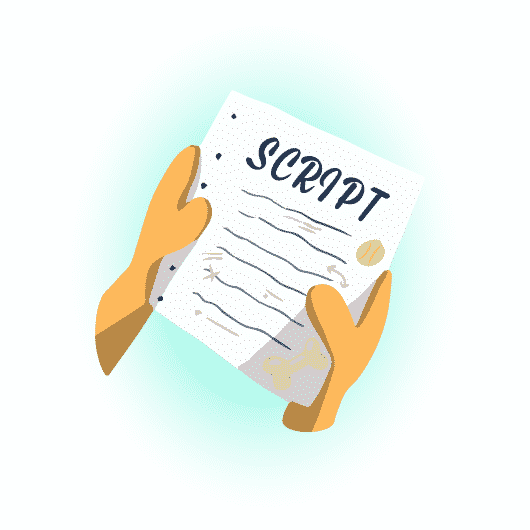
Now that you’ve created a clear outline of the information you want your animation to convey, it’s time to take a first stab at a script. We will publish an in-depth article about how to write a video script soon.
In the meantime, here are a few pointers:
- Think about the tone of your piece. Is your message fun and punchy? Serious and informative? The tone of the writing should be deeply influenced by your end goal.
- Create a “buyer persona.” Who is meant to hear your message and be impacted by it? Develop a caricature of your ideal video viewer and write for that person — aka your buyer persona. If you already have a very clear understanding of your target audience, all the better!
- Use an effective format. There are different types of video formats. For an animation, we strongly suggest using A. an explainer video approach or B. a storytelling approach. There are templates online you can use to get started.
- Edit your heart out. It’s called a first draft for a reason! The script is the absolute foundation of your piece, so never (ever) shortcut it!
Creating an Animation, Pro Tip #2
You might not need characters!
We are sharing this advice before the storyboard section for a reason!
There is a strong tendency for beginners to assume that characters are necessary to convey concepts and ideas.
There’s a reason for that.
Namely, because it’s easier for animation newbies to imagine humans on screen than it is for them to conceptualize how shapes, graphics, and moving objects can be used to visualize ideas. Don’t get us wrong, sometimes characters are great — especially in story-driven videos. Other times, they can really complicate things!
Here’s why:
- First, character work is much more expensive. Yep, we’re looking at you, folks on a tight budget. Take a moment to think about all the moving parts a human body has. Subtle facial movements, blinking eyes, moving arms and legs, and more. Now compare that to a solid shape — like a house or a heart that slides onscreen. See why animating characters is more expensive?
- Second, characters often aren’t as good at conveying abstract concepts as diverse graphics are. It’s a big world out there, and there are many ways to paint a picture, skin a cat, or convey an idea. (See what we did there?). At the end of the day, it all depends on the nature of your message, and your goal for it. Just make sure you consider all options before committing to characters.
Watch some of our animations to see how shapes, objects, and icons are used, in addition to characters.
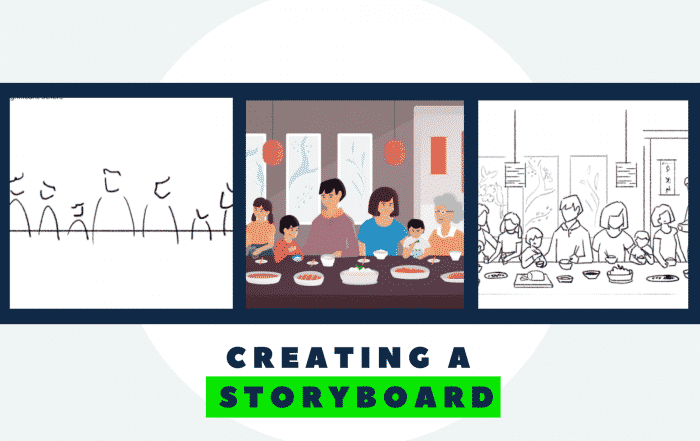
Step 3: Creating a Storyboard
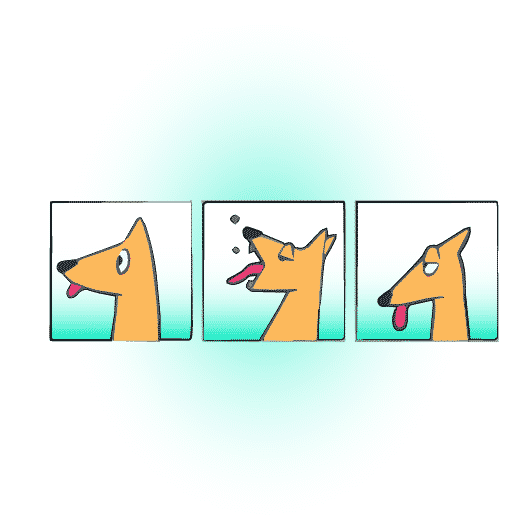
Storyboards are best handled by professionals — usually the same person who illustrates your animation. But if your budget is tight (and especially if your animation will be visually simple) it is possible to create your first storyboard draft internally.
Traditionally, a storyboard is a pencil sketched version of the visuals that will eventually be on screen. Designing a storyboard is a lot like creating an outline before writing a an essay, or, indeed, a video script.
A storyboard is like a roadmap for understanding how the your animation will eventually take shape. And by sketching mockups of the visuals, your illustrator will have much clearer direction for what you’d like to play out on screen.
Okay, you might ask, “but what if I’m not a skilled doodler?”
Ah, glad you asked.
It’s also possible to create a “written storyboard.” A written storyboard is a clearly fleshed out description of the graphics that will be shown on screen. Motifmotion often creates written storyboards for projects with tighter budgets — because they are usually a bit faster to create. Besides describing the visuals in detailed text, it’s also very important that you attach pictures and screenshots from around the web, This will help your future illustrator better understand the visuals you are describing.
Even after you send your written storyboard to your future illustrator, it’s possible they may still wish to produce a hand sketched storyboard before moving to illustration. Always ask for feedback about whether your storyboard is descriptive enough for them to illustrate directly from. Significant backtracking after illustration has begun can be expensive!
Stay tuned, we’ll be publishing a piece on creating storyboards soon!
Creating an Animation, Pro Tip #3
Hiring freelancers for production
Okay, up to this point, you’ve been able to handle the project all by yourself — or at least most of it. Assuming you aren’t an illustrator or designer, now is the time to bring in the special forces.
As always, the safest option to a great animation is to hire a professional studio. That said, individual freelancers are usually more affordable than studios. Why? Because they fly solo, unaffected by project managers and company overhead. The flip side of that coin is that freelancers usually don’t have the track record of a proven studio — so it’s essential that you do your homework.
Sometimes, you can find an artist who both illustrates and animates. The chances of them being equally skilled at both isn’t high, but this is the scenario that will get you the best bang for your buck.
Just remember: finding the cheapest labor often results in the cheapest looking product. If you can find a bargain, great. But always vet potential freelancers carefully and study their portfolio in depth. If they don’t have a portfolio you can reliably assess — run away. Run far, far away! Finally, always create a clear contract, laying out deliverables and timelines.
For the most affordable illustrators and animators, consider a site like Fiverr.com. For generally higher skilled (and therefore priced) freelancers, consider a site like Upwork.com.
Step 4: Designing a Style
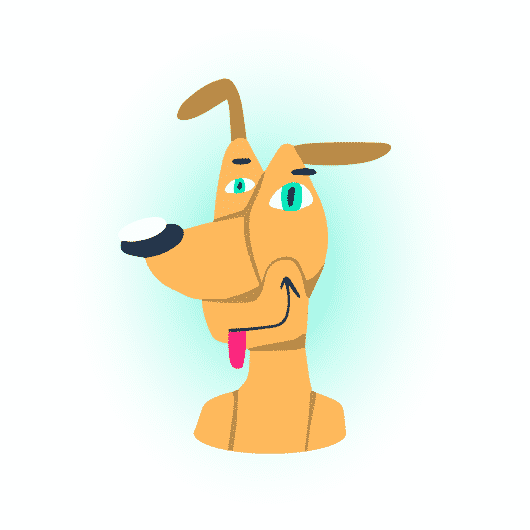
Now, it’s time to develop a visual style for your piece. If the person designing your style is the same one who will be illustrating your animation – make sure that freelancer has experience illustrating for animations, specifically. Illustrations must be set up in a distinct way, in order to be successfully animated later.
You’ll want to send this person:
- Your organization’s style guide
- Your storyboard (if you’ve already developed one) and,
- Any inspirational images or, better yet, animations you’ve found in their portfolio (or on the web) in styles you’d like them to mimic.
We recommend looking for inspiration on Vimeo rather than Youtube, using keywords like “explainer animations” and “2d animations.”
Expect different kinds of quotes for different types of animation.
For example, if you’re hoping for a truly classical “cartoon style” animation, it might need to be animated in a “frame by frame” method. This is very time consuming compared to other forms of animation. Likewise, if you’re looking for something heavily character driven, expect a higher quote than an animation filled with with simple shapes.
At the end of the day, with the exception of corny animations produced using cheap software, all animation is pretty time consuming.
Stay tuned for more on types of animation styles in the fourth and final article of this series.
Phase 2 of The Animation Process:
Production
Congratulations – you’ve successfully moved through pre production! The turkey is stuffed, seasoned, and ready to be placed in the oven.
Here’s the most important thing to keep in mind at this point. Both you and your hired illustrator should have a very strong visual understanding of what is about to be illustrated. The reason for this is important. Revisions take far longer (and are far more expensive) in illustration and animation, as opposed to in the earlier storyboard phase.
You should also make sure you’re on the same page with your illustrator about the amount (and type) of revisions that you can request from them. While it’s normal to request a few revisions after both the illustration and animation phase, they should be small, because here again, they’ll be much more time consuming to fix once you’re in production.
Step 5: Creating a Voiceover

Technically speaking, the voiceover (or “VO”) can be created anytime after the script is finalized. It must be created before the animation phase begins (so that the animator can time out the scenes and movements correctly). It may also be helpful for the illustrator to have it before beginning.
If you have an in-house live action video production team, you may be able to create a voiceover internally.
Otherwise, there are many websites you can post voiceover jobs to and receive professional VO auditions. A quick Google will help you identify them. Try voices.com, or voice123.com, for example.
Additionally, here is a helpful article about choosing the right voiceover artist!
Step 6: Illustration Time!

With your storyboard now produced, it’s time for your talented illustrator to produce a first draft of the visuals!
Illustrators often build scene backgrounds first, and then create characters and graphics overtop of the scenes.
Other times, they illustrate graphics, backgrounds and characters separately, and combine them towards the end.
Ask your illustrator to send over samples of the graphics as they are prepped, so you can stay up-to-date with the progress — being conscious of the nature of your revisions agreement.
And of course, make sure you’ve approved the illustration style before they dive in.
Step 7: Animation – Bringing your Video to Life!
Unless your animation is extremely simple, this will surely be the most time intensive (and expensive) part of the animation process. But it’s also when all that planning will pay off, and your animation will come to life! Since you already determined a style before hiring your animator, you should have a strong sense of what to expect.
Make sure your animator sends you an early sample so you can hold them to the quality they agreed upon.
Step 8: Music and Sound Design
Sound design is very important for achieving the ideal emotional tone of an animation. Most of the time, animators also take on the responsibility of music backtracking and sound design.
You’ll definitely need to make sure your animator handles this!
If your animator doesn’t, you’ll need to contact a video producer who can handle it elsewhere.
Step 9: Delivery (and Contract Considerations)

Sometimes, folks don’t include delivery as a final step. We’re tossing it in for a distinct reason.
As the paying client, you should make sure you’re getting the project delivered in the way you want it.
Where will the animation live ultimately? Do you want an Mp4 file? Should you request the original project files? Could your animation be broken up into any distinct chunks, and re-used on social media? If so, do you need them in short GIF format?
Whatever you need, make sure you write the expectations into your contract, ideally before the project kicks off.
Conclusion: Creating an Animation on a Budget (2021 Guide)
There you have it — that’s a synopsis of the steps it takes to create your very own animation! We hope this article has given you a bird’s eye view of the animation process, as well as tangible steps you can take to start planning for your project.
Once again, the next three articles we release will be detailed guides about script writing, storyboarding, and putting the pieces together — aka your most active roles besides general project management. We’ll also talk about some broader video marketing strategy. Sign up for our newsletter below to receive notification — and we’ll also link them here as soon as they are up!